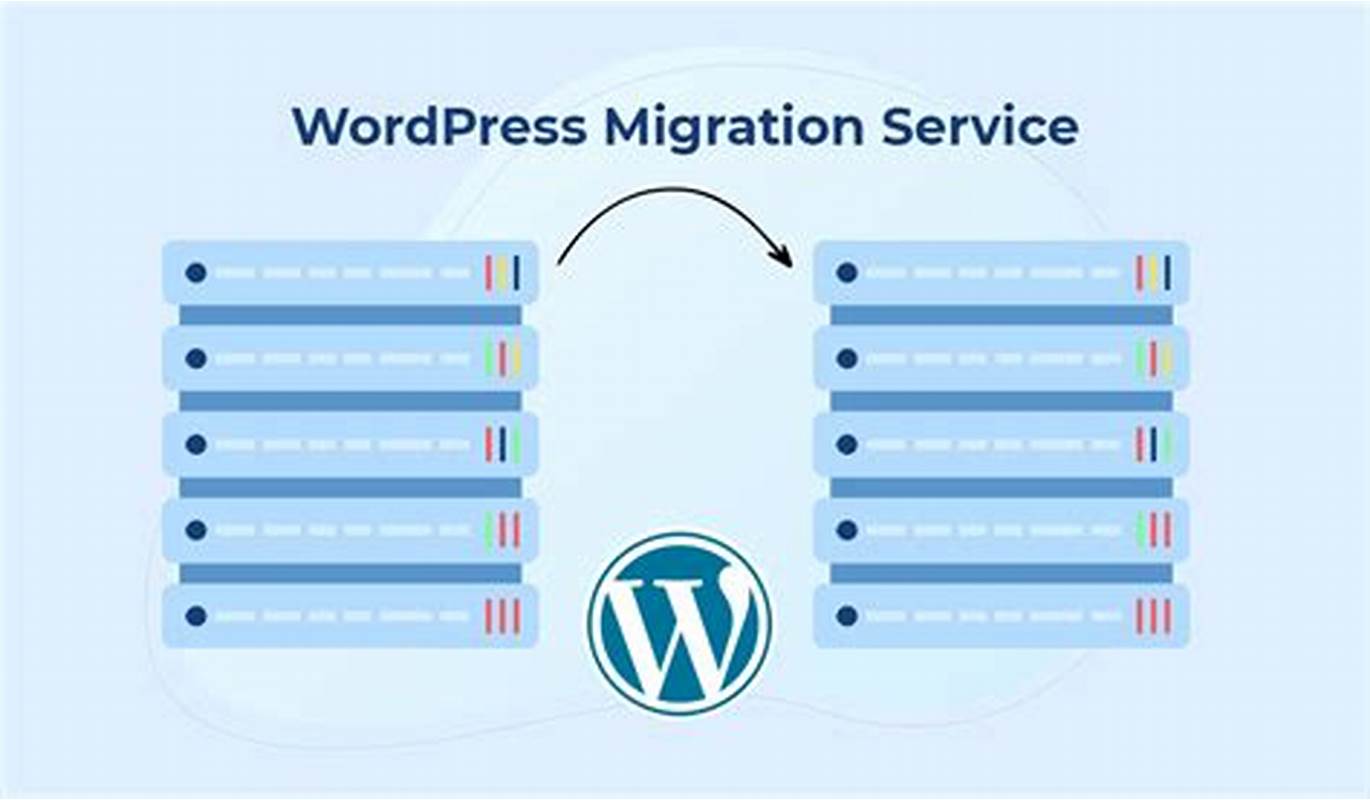
Performing a WordPress migration involves transferring your website from one hosting provider to another, moving your site to a new domain, or duplicating your site for development or testing purposes.
It can be a complex process, but with careful planning and the right tools, you can successfully migrate your WordPress website without downtime or data loss.
Table of Contents
Why Perform WordPress Migration?
- Hosting Upgrade: Migrate to a new hosting provider with better performance, speed, security, and customer support.
- Domain Change: Move your website to a new domain name due to rebranding, domain expiration, or SEO considerations.
- Development or Staging: Duplicate your live website to a development or staging environment for testing new features, themes, plugins, or updates without affecting the live site.
- Website Consolidation: Merge multiple WordPress sites into a single website to simplify management, reduce costs, and improve efficiency.
Types of WordPress Migration:
- Hosting Migration: Transfer your website from one hosting provider to another to improve performance, reliability, or customer support.
- Domain Migration: Change your website’s domain name by moving it to a new domain while retaining all website content, design, and functionality.
- Local to Live Migration: Move a locally developed WordPress site to a live server to make it accessible on the internet.
- Multisite Migration: Merge or separate WordPress Multisite networks, subdomains, or subdirectories into individual WordPress sites or vice versa.
Here’s a step-by-step guide to help you perform a WordPress migration:
Pre-Migration Steps (WordPress Migration):
- Backup Your Website:
- Before starting the migration process, create a complete backup of your WordPress website, including files and databases, to ensure you can restore your site in case of any issues or data loss.
- Choose a New Hosting Provider:
- Select a reliable hosting provider that offers optimized WordPress hosting, good uptime, speed, security, and excellent customer support to ensure a smooth migration process and optimal website performance after migration.
- Prepare Your New Hosting Environment:
- Set up your new hosting environment, install WordPress, configure server settings, and prepare the domain or subdomain where you want to migrate your website.
Migration Methods:
1. Manual Migration:
- Export Database:
- Log in to your old hosting cPanel, access phpMyAdmin, select your WordPress database, and export it to a
.sqlfile.
- Log in to your old hosting cPanel, access phpMyAdmin, select your WordPress database, and export it to a
- Transfer Files:
- Connect to your old hosting server via FTP/SFTP, download all WordPress files to your computer, and then upload them to the new hosting server using FTP/SFTP or cPanel File Manager.
- Import Database:
- Create a new database on your new hosting server, import the
.sqldatabase file using phpMyAdmin, and update the database connection settings in thewp-config.phpfile to point to the new database.
- Create a new database on your new hosting server, import the
2. Using Plugins for Migration:
- Choose a Migration Plugin:
- Install and activate a reliable WordPress migration plugin like Duplicator, UpdraftPlus, or All-in-One WP Migration on your old website.
- Create a Migration Package:
- Generate a migration package using the plugin, which includes all website files, database, plugins, themes, and configurations.
- Transfer and Restore:
- Download the migration package to your computer, upload it to the new hosting server, and follow the plugin’s instructions to restore the website on the new server.
Post-Migration Steps:
- Update DNS Settings:
- If you’re migrating to a new domain, update the DNS settings to point to the new hosting server to ensure visitors can access the website using the new domain.
- Test Website:
- Thoroughly test the migrated website on the new hosting environment to ensure all pages, content, images, links, and functionalities are working correctly.
- Update Permalinks and Settings:
- Update WordPress permalinks, general settings, and any other site-specific configurations to match the new hosting environment and domain settings.
- SSL Certificate:
- If your old website had an SSL certificate, install and configure an SSL certificate on your new hosting server to secure the website and maintain SEO rankings.
- Monitor and Optimize Performance:
- Monitor website performance, speed, and uptime on the new hosting server, and optimize server settings, caching, and CDN configurations to improve website speed and performance.
Conclusion:
Performing a WordPress migration requires careful planning, preparation, and execution to ensure a smooth transition and maintain website integrity, functionality, and performance. By following these steps and using the right tools and techniques, you can successfully migrate your WordPress website to a new hosting provider, domain, or server without downtime or data loss, ensuring a seamless experience for your website visitors and maintaining your website’s SEO rankings, reputation, and online presence.