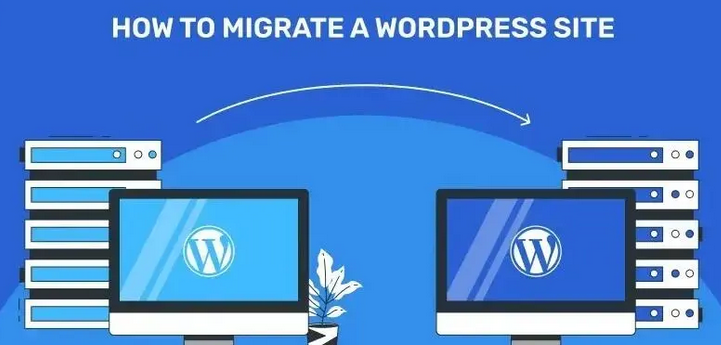
Migrate WordPress Website
Migrate WordPress Website
Migrating a WordPress website can be done efficiently by following these steps:
1. Migrate WordPress Website – Backup Your Website

- Files: Use an FTP client to download all website files.
- Database: Export the database via phpMyAdmin or use a plugin like UpdraftPlus.
2. Choose a Migration Method
- Plugins: Use a migration plugin like Duplicator, All-in-One WP Migration, or WP Migrate DB for ease.
- Manual Method: Transfer files via FTP and import the database using phpMyAdmin.
3. Prepare the New Hosting Environment
- Set Up: Ensure the new hosting account is ready, with WordPress installed if necessary.
- Database Creation: Create a new database and user with full privileges.
4. Transfer Files and Database
- Files: Upload the downloaded files to the new server using FTP.
- Database: Import the exported database into the new database via phpMyAdmin.
5. Update wp-config.php
- Modify database name, user, and password in
wp-config.phpto match the new server details.
6. Update Domain and URL
- Search and Replace: Use a plugin or script to update URLs in the database if the domain changes.
- .htaccess and Permalinks: Update
.htaccessand reset permalinks in WordPress.
7. Test the Website
- Preview: Check the site on the new server using a temporary URL or hosts file modification.
- Functionality: Ensure all links, images, and functionalities work correctly.
8. Update DNS
- DNS Records: Change the DNS records to point to the new hosting server.
- Propagation: Allow time for DNS changes to propagate (up to 48 hours).
9. Monitor the Site
- Performance: Check site speed and performance.
- SEO: Ensure all redirects are in place to preserve SEO.
By following these steps, you can effectively migrate your WordPress website with minimal downtime and data loss.