To set up your email account in Outlook, follow these general steps. Keep in mind that the exact steps may vary slightly depending on the version of Outlook you’re using and the type of email account you have (e.g., Gmail, Outlook.com, Yahoo, etc.). These instructions are based on Outlook 2016/2019/365:

- Open Outlook: Launch Outlook on your computer.
- Add Account: If this is the first time you’re using Outlook, you’ll be prompted to set up an email account. If you’re not prompted, you can add an account by going to the “File” menu and selecting “Add Account.”
- Auto Account Setup: In the “Add Account” window, enter your email address and click “Connect” or “Next.” Outlook will attempt to configure your email account automatically. If it succeeds, you can skip to step 7. If not, continue to step 4.
- Manual Setup: If automatic configuration fails, you’ll need to set up the account manually. Select the option that says “Manual setup or additional server types” and click “Next.”
- Choose Service: Select the type of email account you have. This will usually be either “POP or IMAP” or “Exchange.” Click “Next” to continue.
- Account Settings: Enter your account details, including your name, email address, account type (POP3, IMAP, or Exchange), incoming mail server, outgoing mail server, username, and password. You can get these details from your email provider. Once you’ve entered all the information, click “Next.”
- Test Account Settings: Outlook will now test the settings you entered to ensure everything is configured correctly. If any errors occur, double-check your settings. If everything is successful, click “Finish.”
- Completing Setup: Once the test is successful, click “Close” to complete the setup process. Your email account should now be configured in Outlook, and you should see your inbox populated with your emails.
- Additional Configuration: Depending on your email provider and your preferences, you may want to configure additional settings such as folder synchronization, email signature, automatic replies, etc. You can access these settings by going to the “File” menu, selecting “Options,” and then navigating to the appropriate sections.
That’s it! You’ve successfully set up your email account in Outlook. You can now start sending and receiving emails through Outlook on your computer.
Follow these steps to set up your email account in Outlook:
To set up your email account:
1. Open Outlook.
2. Click File.
3. Click Add Account.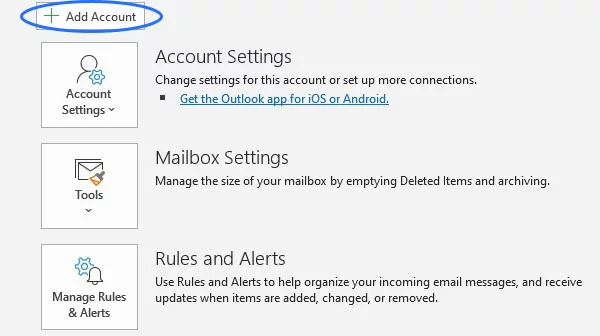
4. Enter the email address you wish to set up then click Connect.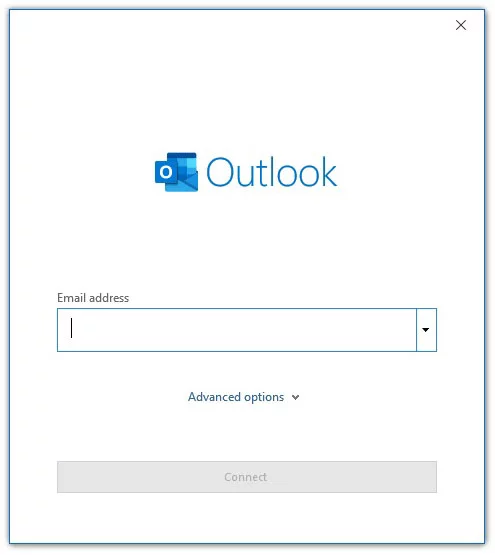
5. Click on the IMAP icon.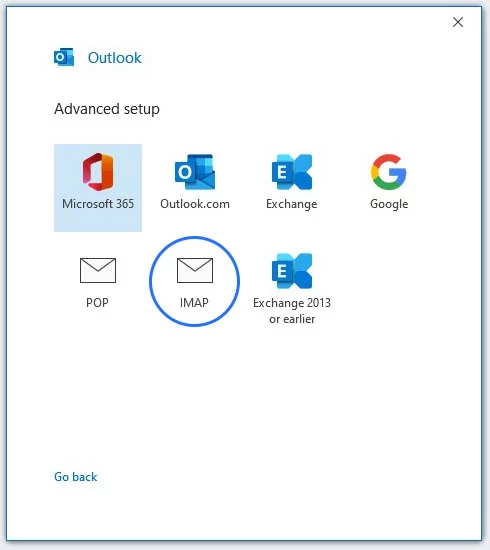
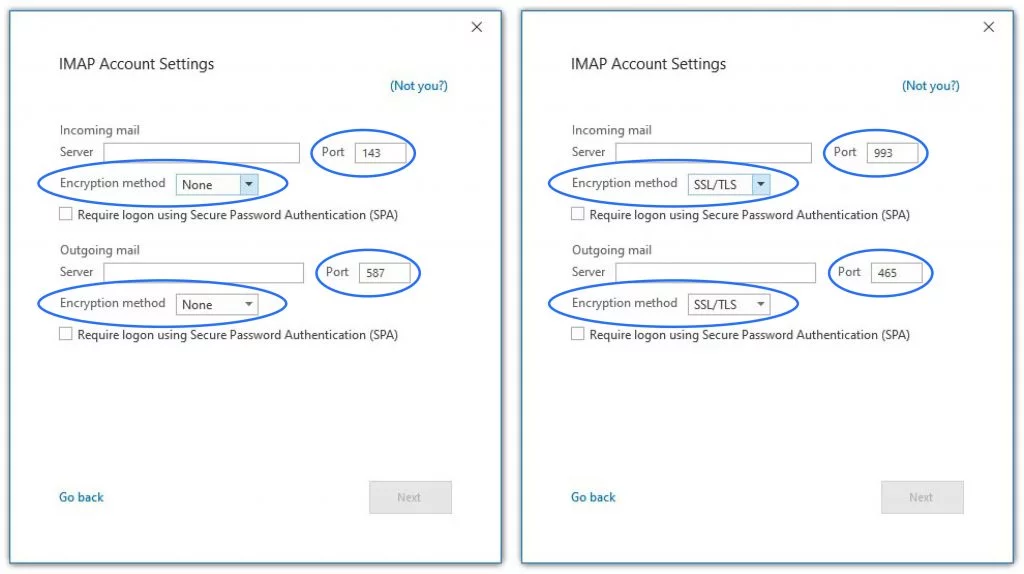
6. Enter the server settings for the email account then click Next.
These settings can be found in your cPanel account.
Log in to your cPanel account > click Emails > click Email Accounts > click Connect Devices.
| Non-SSL/TLS Settings Encryption Method: None Incoming Mail Port: 143 Outgoing Mail Port: 587 | Secure SSL/TLS Settings Encryption Method: SSL/TLS Incoming Mail Port: 993 Outgoing Mail Port: 465 |
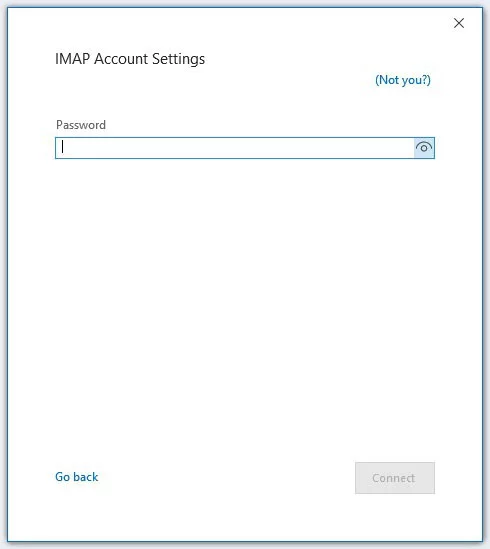
7. Enter the password to the email account then click Connect.